
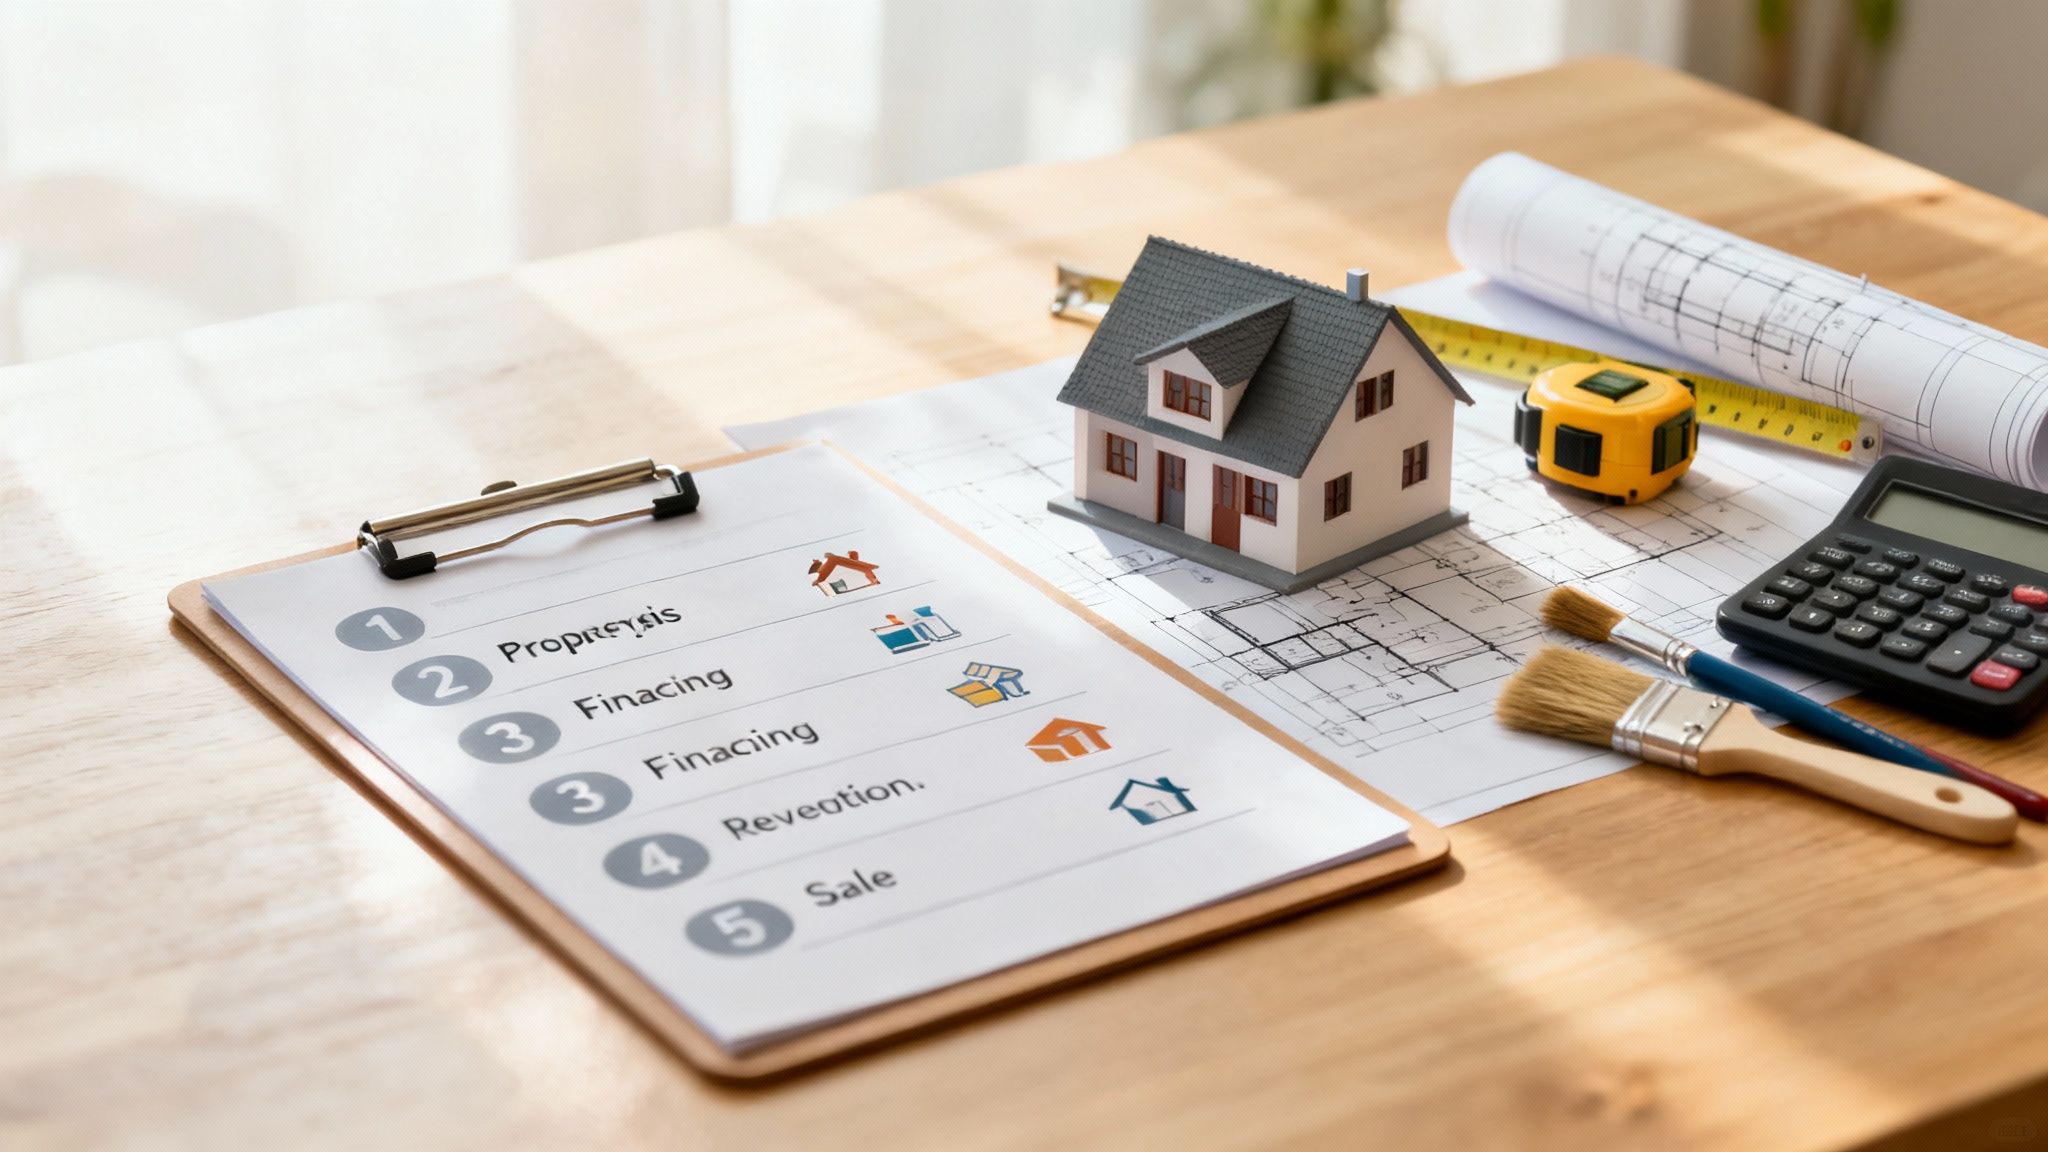
A house flipping checklist breaks a flip into five phases: find and analyze the deal, buy the property, plan the rehab, renovate, and sell. Each phase has its own go/no-go checks, and most money is made or lost in the first one, when you set your ARV, repair budget and maximum offer.
The ten steps below follow that order. Use the printable summary as your project tracker, then read each step for the details, the numbers to run and the mistakes that eat profit. A full worked example in Step 1 shows the math from ARV to projected profit.
The house flipping checklist at a glance
Print this or copy it into your project notes. Check each box before you move to the next phase.
| Phase | Step | Done when you have... |
|---|---|---|
| 1. Find and analyze | 1. Run the numbers | ARV from recent sold comps, a repair estimate with contingency, holding and selling costs, and an MAO you will not exceed |
| 2. Buy | 2. Inspect the property | A licensed inspection report, specialist reports for any red flags, and a renegotiated price or credit if needed |
| 3. Lock in financing | A funded loan or cash, the all-in cost of capital, and a reserve set aside | |
| 3. Plan the rehab | 4. Hire the contractor team | Licenses and insurance verified, three itemized bids leveled, a signed contract with a draw schedule |
| 5. Pull permits | Permit requirements confirmed with the building department and approval time built into the schedule | |
| 6. Write the scope of work | Every task, material and finish specified, with a sequenced schedule | |
| 7. Set the budget and tracking | A line-item budget split into hard, soft and holding costs, plus a protected contingency | |
| 4. Renovate | 8. Manage the work | Regular site visits, milestone inspections before drywall, a daily log and written change orders |
| 5. Sell | 9. Stage, list and sell | Professional photos, key rooms staged, a list price based on current sold comps |
| 10. Close and review | Actual profit vs. projected, a lessons-learned file, and funds set aside for taxes |
Phase 1: Find and analyze the deal
Step 1: Run the numbers before you offer
First you need deals to analyze. Most flippers work several sources at once:
- The MLS: listings with long days on market, price cuts or "needs TLC" language.
- Wholesalers: off-market contracts they assign for a fee. Re-run their numbers yourself before you trust the deal sheet.
- Direct to seller: driving for dollars, mail and calls to owners of vacant, inherited or tax-delinquent homes.
- Auctions and bank-owned homes: often cheaper, but usually sold as-is with limited access to inspect.
Expect to analyze many properties for every one you buy. That is why a fast, repeatable way to run the numbers matters so much.
Every successful flip begins long before the first wall comes down. This step separates a money pit from a profitable deal, and it is where most new flippers lose money: they overpay on the way in and no renovation can fix it.
Start with the After Repair Value (ARV), the price the house should sell for once the work is done. Then subtract the purchase price and every cost you will carry (repairs, holding costs, closing and selling costs) to project profit. Most flippers cap their offer with the 70% rule: your maximum allowable offer (MAO) is 70% of ARV minus repair costs.
MAO = (ARV x 0.70) - repair costs
Worked example: from ARV to projected profit
Here is a hypothetical deal run all the way through. The numbers are illustrative, not market data.
- ARV: three recent sold comps near the property, adjusted for size and condition, point to $300,000.
- Repairs: a contractor walkthrough puts the rehab at $45,000. Add a 15% contingency ($6,750) for a total repair budget of $51,750.
- MAO: ($300,000 x 0.70) - $51,750 = $210,000 - $51,750 = $158,250.
Say you negotiate the purchase at $155,000, just under your MAO. Now check the full cost stack:
| Cost | How it is figured | Amount |
|---|---|---|
| Purchase price | Negotiated | $155,000 |
| Buying closing costs | 2% of purchase | $3,100 |
| Repairs with contingency | $45,000 + 15% | $51,750 |
| Holding costs | 5 months x $2,200 (interest, taxes, insurance, utilities) | $11,000 |
| Selling costs | 8% of $300,000 (commissions and closing) | $24,000 |
| Total cost | $244,850 |
Projected profit: $300,000 - $244,850 = $55,150. That cushion is the point of the 70% rule. If ARV comes in 5% low ($285,000), selling costs fall to $22,800, total cost to $243,650, and profit drops to $41,350. The deal still works.
Now see what happens if you pay $185,000 because you liked the house. Total cost rises to $275,450 (purchase up $30,000, closing costs up $600), and profit falls to $24,550. A 5% ARV miss on top of that leaves $10,750, which one surprise repair can erase.
To keep your numbers honest:
- Use sold comps, not listings. Pull recent sales near the property that match it in size, bed and bath count, age and finished condition. Active listings show what sellers hope for, not what buyers paid.
- Walk it with a contractor. Get a realistic rehab estimate before you offer, and size your contingency to the risk of the house rather than a flat guess. Our guide on how much contingency a rehab budget should carry shows a risk-scored method.
- Count holding costs for the whole timeline. Loan payments, taxes, insurance and utilities run every month the house is not sold, including the months it sits on the market.
You can model different purchase prices and timelines with a fix and flip calculator. FlipSmrt does this step for you: enter an address and it returns ARV from recent sold comps near the property, a line-item rehab estimate priced for the county, MAO, ROI and a go/no-go verdict in under 5 minutes.
Phase 2: Buy the property
Step 2: Get a professional inspection
Your walkthrough and contractor estimate are a start, but they do not replace a licensed inspector. A full inspection is your last line of defense against hidden problems in the structure, roof, plumbing, electrical and HVAC, and it should happen during your contract's inspection period, before your deposit goes hard.
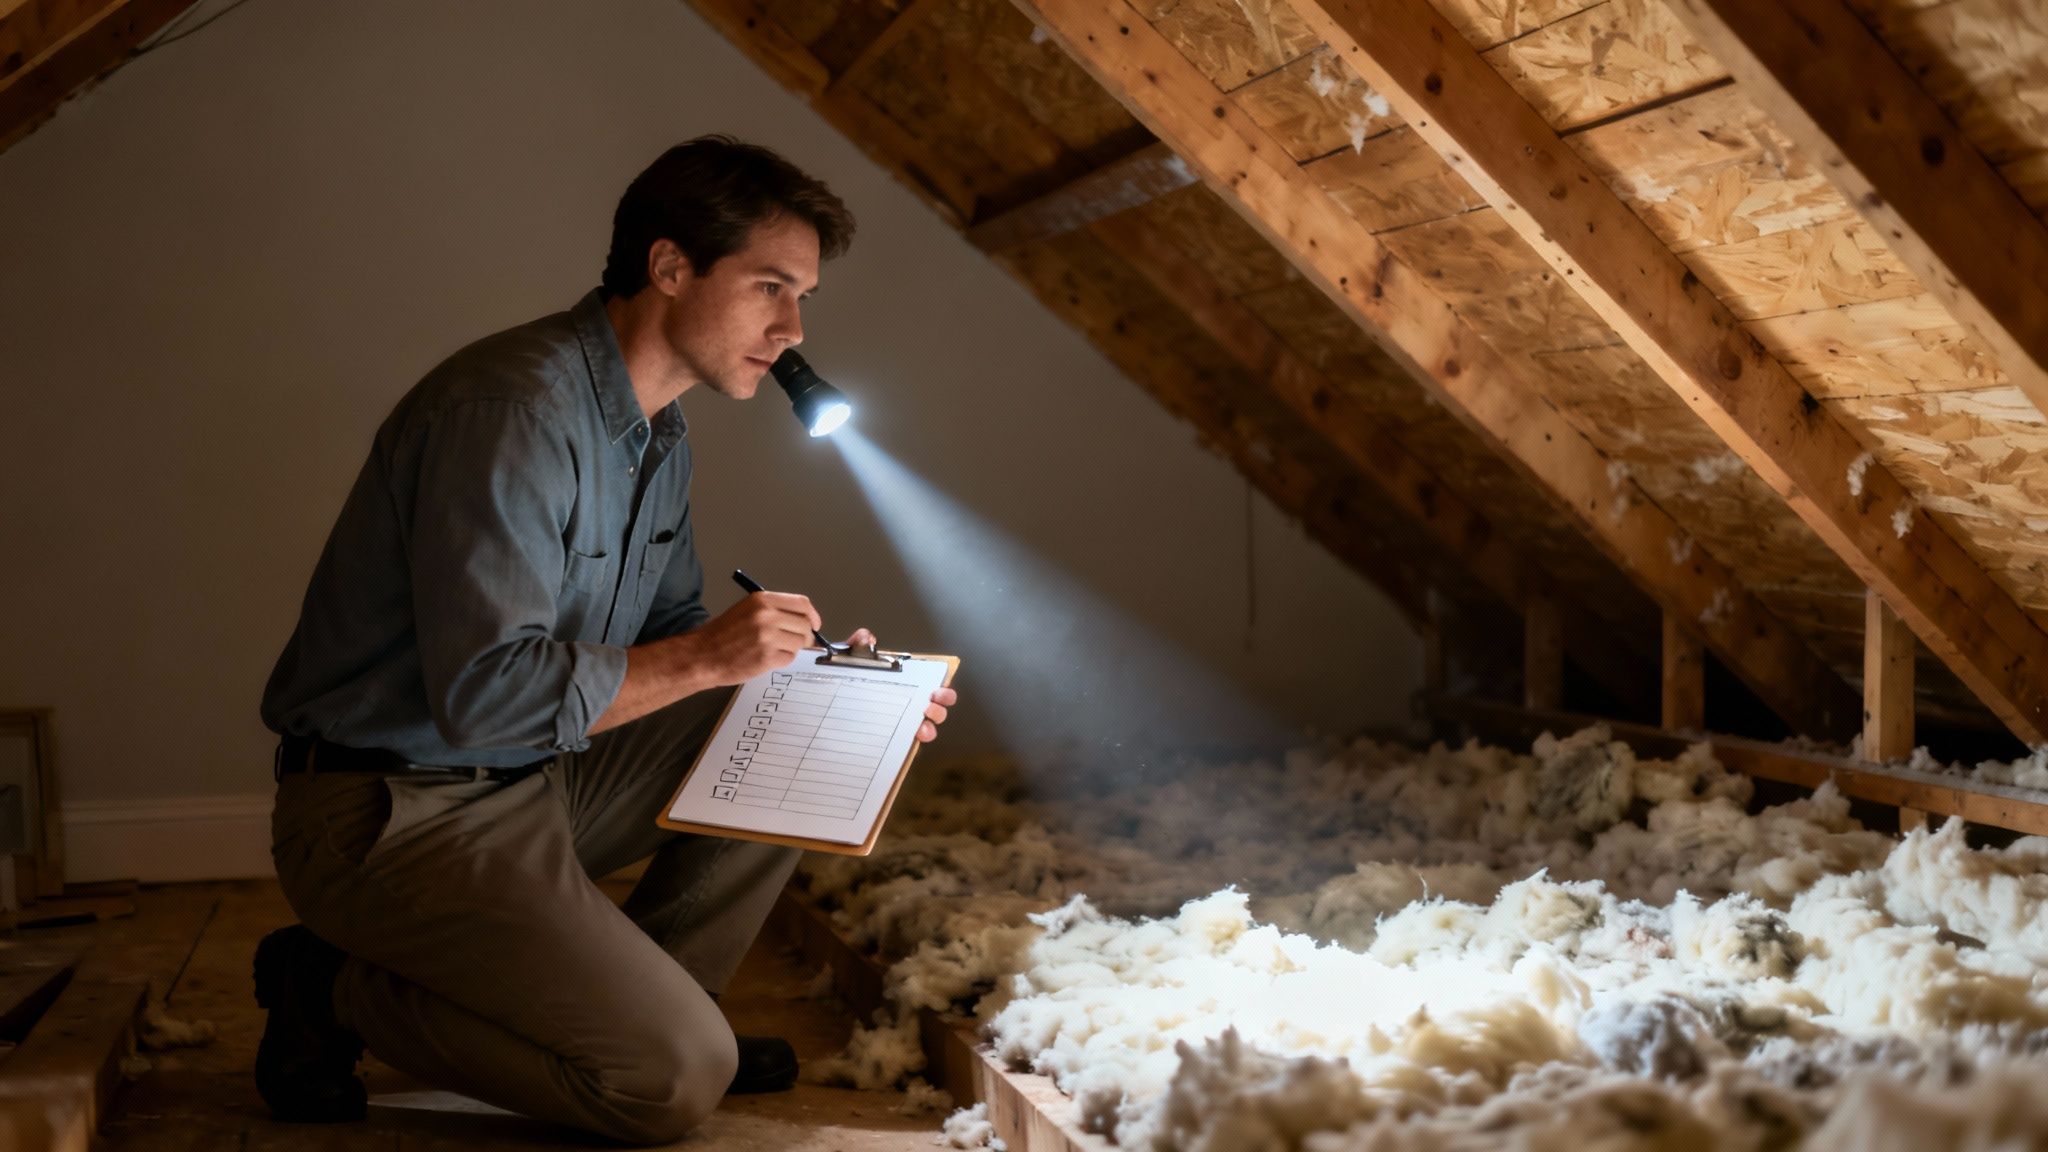
The report gives you the facts for a go/no-go call or a renegotiation. For example, an inspector might find an outdated electrical panel and knob-and-tube wiring, a five-figure rewire you did not budget for. Foundation cracks that a structural engineer confirms as active movement can turn a good deal into a pass.
Plug any new costs back into your Step 1 numbers. If the rewire adds $15,000 to repairs in the example above, MAO drops from $158,250 to $143,250, and you either get a price cut or walk.
- Attend in person. See issues firsthand, ask questions and learn how serious each finding really is.
- Hire credentialed inspectors. Look for membership in a recognized body such as the American Society of Home Inspectors (ASHI).
- Use the findings to negotiate. Ask for a price reduction or a closing credit to cover what the report revealed.
- Call specialists for red flags. If the general inspection raises questions about the foundation, roof, sewer line, HVAC or mold, get a specialist to quote the actual fix.
- Know what a general inspection skips. Inspectors usually do not open walls, run a camera down the sewer line or test for lead, radon or asbestos. On older homes, a sewer scope and the relevant tests are often worth the extra cost, because a failed sewer line or environmental issue can wipe out the margin on its own.
An inspection is one part of a wider review that also covers title, zoning, liens and insurance. Our real estate due diligence checklist walks through the rest.
Step 3: Lock in financing
Your financing covers the purchase and often the rehab, and its cost flows straight into your holding costs. The right choice depends on your experience, credit, cash on hand and how fast you need to close.
Cash is simplest, but most investors use other people's money to scale. Common options are hard money loans (fast, higher rates and points), private money from individuals (flexible terms, usually through a relationship), bank loans and renovation loans such as the FHA 203(k) for owner-occupants. A newer flipper often starts with hard money because lenders weigh the deal more than the borrower's track record.
- Line up lenders early. Build relationships with a few hard money lenders, private lenders and local banks before you have a deal, so you can close fast when one appears.
- Keep a reserve outside the loan. Your loan covers the plan, not the surprises. Hold cash for overruns, extra months of holding costs and draw delays.
- Compare all-in cost, not the rate. Add origination points, processing fees, draw and inspection fees, extension fees and any prepayment penalty. A low rate can hide high fees.
- Understand the draw schedule. Most rehab loans reimburse work after it is inspected, so you or your contractor front each phase. Plan your cash for that gap.
Here is why the rate alone misleads. Say you borrow $160,000 for a five-month flip. Lender A charges 12% interest and 2 points: $3,200 in points plus $160,000 x 0.12 / 12 x 5 = $8,000 in interest, for $11,200. Lender B charges 10% and 3 points: $4,800 in points plus $6,667 in interest, for $11,467. The lower rate costs more at this hold time. Stretch the hold to eight months and Lender B wins, so price loans on your realistic timeline.
Have a primary and a backup funding source lined up before you make an offer. A deal that falls apart at closing because the money was not ready costs you time and credibility with sellers.
Phase 3: Plan the rehab
Step 4: Hire and assemble your contractor team
Your renovation is only as good as the people doing it. The right team keeps the project on budget and on schedule, passes inspections and delivers a finish that supports your ARV.

Most flips need a general contractor (GC) to run the job, plus licensed trades for electrical, plumbing, roofing and HVAC. Flippers who keep the same core team across projects tend to get better pricing, priority scheduling and fewer arguments about quality, because everyone already knows the standard.
- Verify credentials. Check licenses with your state licensing board and get certificates of insurance for both liability and workers' compensation.
- Get at least three itemized bids. Bids that are not broken out by trade are hard to compare. Our guide to leveling contractor rehab bids line by line shows how to put them on the same scope before you choose.
- Meet on site. A walkthrough tells you more about a contractor's communication and understanding of the job than a phone call.
- Use a written contract. Spell out the scope, a payment schedule tied to completed milestones, a timeline and how change orders are priced and approved.
- Watch for red flags. No written estimate, pressure to pay in cash, no permit plan, or a bid far below the others usually signals trouble later.
- Do not front large deposits. Pay for work completed and inspected, not work promised.
Step 5: Pull permits and plan for code compliance
Permits keep your renovation legal and protect your sale. Skipping them to save time can lead to stop-work orders, fines and even tearing out finished work. Unpermitted work can also scare off buyers, cause trouble with their lender or appraiser, and create problems with your insurance.
Requirements vary by jurisdiction. A flip in a hurricane-prone area may need wind-rated windows and roofing with inspections to match, while a California flip may need seismic work signed off. Local knowledge matters here.
- Call the building department before you close. Confirm which parts of your scope need permits and what the fees are.
- Budget for code upgrades. Opening walls can trigger required upgrades, such as smoke detectors, GFCI outlets or electrical service changes. Put permit fees and likely upgrades in the budget as their own lines.
- Build approval time into the schedule. Ask the department how long approvals and inspections are taking right now. Every week of waiting is a week of holding costs.
- Keep the paperwork. File permit applications, approved plans, inspection sign-offs and final approvals. Buyers and their agents will ask for them.
Step 6: Write a detailed scope of work
The scope of work (SOW) turns a general vision into exact instructions. It lists every task, material and finish, and it is the document you and your contractors refer back to when questions come up. A clear SOW is the best defense against scope creep, surprise invoices and missed deadlines.
Specific beats general. "Install new cabinets" invites a dozen interpretations. "Install shaker-style white cabinets per the attached layout, soft-close doors and drawers, brushed nickel pulls, 3-inch crown molding" leaves no room for a surprise.
- Name the products. List paint colors by brand and code, fixture models and flooring SKUs. Attach photos of the look you want.
- Sequence the work. Map the order of trades: demo, rough-in for plumbing, electrical and HVAC, inspections, insulation, drywall, then finishes. Floors do not go in before drywall, and a countertop does not go on before the cabinets.
- Define "done." Write down what acceptable work looks like, such as straight grout lines, no visible roller marks and every outlet tested. That gives you a clear basis for approving each draw.
- List what you are not doing. An "excluded" section (for example, no changes to the detached garage, keep existing windows) stops contractors from pricing work you never asked for and stops scope creep later.
- Match the scope to the buyer. Finish to what the comps in that neighborhood have, not to your personal taste. Over-improving past the market adds cost without adding ARV.
Step 7: Set the budget and track every dollar
A flip is managed on a spreadsheet as much as on the job site. Turn your SOW into a line-item budget and track actual spending against it every week.
Split the budget into three groups. Hard costs are labor and materials. Soft costs are permits, insurance, design and loan fees. Holding costs are interest, taxes, insurance and utilities for each month you own the house. A common miss is budgeting carefully for cabinets and flooring and then forgetting three months of taxes and insurance, which quietly takes thousands out of profit.
Here is how the $45,000 rehab from the Step 1 example might break down by trade:
| Line item | Budget |
|---|---|
| Kitchen (cabinets, counters, appliances) | $15,000 |
| Two bathrooms | $9,000 |
| Flooring | $6,500 |
| Interior and exterior paint | $4,500 |
| Roof repair | $3,500 |
| Electrical | $2,500 |
| Plumbing | $2,000 |
| Landscaping and curb appeal | $2,000 |
| Subtotal | $45,000 |
| Contingency (15%) | $6,750 |
| Total repair budget | $51,750 |
Each line becomes a row in your tracker with columns for budget, committed (signed bids) and paid. When a line runs over, you see it the same week and can decide where to pull the money from before it hits the contingency.
If you need help building the repair lines, see our guide on how to estimate renovation costs.
- Track in one place. Use a spreadsheet or accounting software, categorize each expense and compare actual to budget weekly.
- Check every invoice. Match it against the quote and the work actually completed before you pay.
- Put change orders in writing. Each one needs a cost breakdown and both signatures. Verbal changes turn into disputes.
- Protect the contingency. It is for problems you could not see, like rot behind a shower wall. It is not for upgrades you decide on mid-project.
Phase 4: Renovate
Step 8: Manage the work and control quality
Once demolition starts, your role shifts from planner to project manager. Regular oversight keeps the job on schedule and on budget, and it catches mistakes while they are still cheap to fix.
The goal is to find problems before they get covered. Moving a misplaced outlet at rough-in costs very little. Moving it after drywall, mud and paint costs a lot more. Being on site regularly also keeps your crew accountable to the scope and the timeline.
Surprises will happen. If demolition uncovers something like suspected asbestos, work in that area should stop until it is tested and handled by a qualified professional. An owner who is on site can make that call the same day, adjust the schedule and keep other trades working elsewhere.
- Keep a rhythm. Visit at a regular time so you see daily progress and how the crew works.
- Take photos at every stage. Before, during and after shots create a record that settles disputes about quality or completion.
- Inspect at key milestones. Do your own walkthroughs after framing, after plumbing and electrical rough-in, and right before drywall. That last one is your final easy look inside the walls.
- Keep a daily log. Note issues found, decisions made and any change from the scope, in writing, the day it happens.
- Price every change before you approve it. If you decide mid-job to swap laminate for tile in two bathrooms at an extra $2,400, and it adds a week, the true cost is $2,400 plus about $550 in holding costs (a quarter of a $2,200 month). Ask whether the change raises ARV by more than roughly $2,950. If not, skip it.
- Tie draws to inspected work. Release payment only for milestones you have seen completed to the standard in the SOW.
Phase 5: Sell
Step 9: Stage, list and sell the property
This is where your work turns into profit. Preparation, presentation, pricing and negotiation decide how fast you sell and how close you get to ARV, and every extra month on the market adds holding costs.

Staging helps buyers picture themselves in the house. It defines each room's purpose and shows off the best features of the renovation. A higher-end flip may justify fuller staging to support its price, while an entry-level flip can do well with simple, clean staging of the main rooms.
- Hire a professional photographer. Listing photos are what most buyers see first. Consider a virtual tour for out-of-area buyers.
- Fix the curb appeal. Trim the lawn, paint the front door and clean the entry. The first impression happens from the street.
- Stage the rooms that matter most. If a full stage is not in the budget, focus on the living room, kitchen and primary bedroom, in neutral colors.
- Price from current comps, not your costs. Work with an agent who knows the area and price against the latest sold comps. Buyers do not care what you spent. A price that is right on day one draws more showings than one that needs cutting later.
- Weigh price cuts against holding costs. In the Step 1 example, each month on the market costs about $2,200. If a $5,000 price cut sells the house a month sooner, the real cost of the cut is closer to $2,800.
- Negotiate the whole offer. Compare net proceeds, financing strength, contingencies and closing date, not just the headline price.
Step 10: Close the sale and review the project
The closing table is not the end of the flip. The last step has two parts: close cleanly, then run a post-project review that makes your next deal more accurate.
Once the funds land, gather every receipt, invoice and statement. Subtract total actual costs (purchase, rehab, holding, buying and selling costs) from the sale price to get your real net profit and ROI.
For the Step 1 example, a $55,150 profit on $244,850 of total cost is an ROI of $55,150 / $244,850 = about 22.5% on the project. If you financed most of it, also calculate return on the cash you actually put in, since that is the number that tells you whether the deal was worth your capital.
Then compare actual to projected line by line. If you projected $60,000 in profit and made $48,000 because of a plumbing surprise and two extra months on the market, find exactly where the $12,000 went. That gap tells you where your estimates need work.
- Write a lessons-learned file. While it is fresh, note what went right and wrong. Which contractor was great? Which material failed? Was the timeline too optimistic?
- Track the same metrics every time. Actual vs. projected timeline, rehab cost per square foot, profit and ROI. Comparing them across flips shows whether your process is improving.
- Learn from the buyer. Ask your agent what drew the buyer and what other buyers objected to. Use it to shape your next scope.
- Set money aside for taxes. Flip profits are often taxed as ordinary income, not long-term capital gains. Talk to a CPA, and read our guide to taxes for flipping houses.
Putting the checklist to work
A flip is a short business project with a lot of decision points. Phase 1 decides whether the deal can make money. Phases 2 through 4 decide whether you keep that money. Phase 5 decides how much of it you collect.
Treat the end of each phase as a gate. Before you move on, ask one question and get a clear answer:
- After Phase 1: does the deal work at a price you can actually get, with costs you have checked?
- After Phase 2: after the inspection and loan terms, does the deal still clear your MAO and profit target?
- After Phase 3: do signed bids, permit fees and the schedule still fit the budget you bought on?
- During Phase 4: is the job on budget and on schedule, and is the contingency still mostly intact?
- Before Phase 5: do current sold comps still support your list price?
If the answer at any gate is no, stop and re-run the numbers. Walking away or renegotiating at Phase 2 is far cheaper than finding out at Phase 5.
Three habits hold the whole checklist together:
- Financial discipline. The budget is the rule of the project. Track every dollar and check every change against the profit it costs.
- A reliable team. Contractors, lenders, inspectors and agents you trust are what make a flip repeatable.
- Market awareness. From purchase price to finishes to list price, let current sold comps make the calls, not your preferences.
Frequently asked questions
What are the phases of flipping a house?
Most flips move through five phases: find and analyze the deal, buy the property, plan the rehab, renovate, and sell. Each phase has its own checklist items, from running ARV and MAO in phase one to staging and pricing in phase five. Do not move to the next phase until the current one's checks are done.
What is the most important step in a house flipping checklist?
Running the numbers in Step 1. If you overpay for the property or underestimate repairs, a perfect renovation will not save the deal. Set your MAO before you offer and do not go over it.
What should be on a checklist for flipping houses?
At minimum: ARV from recent sold comps, a repair estimate with contingency, MAO, a professional inspection, financing with a cash reserve, a vetted contractor team, permits, a detailed scope of work, a line-item budget, milestone inspections during the rehab, and a sale price based on current comps. The printable table at the top of this post covers all ten steps.
How much cash do I need to start flipping houses?
It depends on your market and your loan. Even with a hard money loan, you usually need cash for the down payment, closing costs, points, the gap between paying for work and receiving draws, and a reserve for overruns and extra holding months. Run your specific deal and lender terms to get a real number.
How long does a typical house flip take?
Many flips take several months from purchase to sale, and larger renovations can take a year. Buying and planning, the rehab itself, and listing through closing each add time. The faster you finish and sell, the lower your holding costs.
What is the biggest mistake new flippers make?
Underestimating total cost and time. New investors focus on the purchase price and visible repairs, then forget soft costs and holding costs like loan interest, taxes, insurance, permits and commissions. Those costs keep running every month the house is not sold.
Run Step 1 on a real deal. FlipSmrt pulls recent sold comps, prices the rehab line by line and gives you ARV, MAO and a go/no-go verdict in under 5 minutes. Analyze a property free (your first 3 analyses are free).