Figuring out how to estimate repairs on a house is a critical skill for any home buyer. It requires combining your own careful observations during a walkthrough, the detailed findings of a professional inspection, and real-world quotes from contractors. This process reveals the true, all-in cost of a property, giving you the solid numbers you need for smart negotiations and financial planning before you're legally committed to the purchase.
Why You Must Estimate Repairs Before Buying a House
That charming house you just fell in love with? It has a hidden price tag that isn't on the listing. Learning how to estimate repairs on a house isn't just about creating a future to-do list; it’s your best defense against a bad investment. Getting this part wrong can turn your dream home into a financial nightmare.
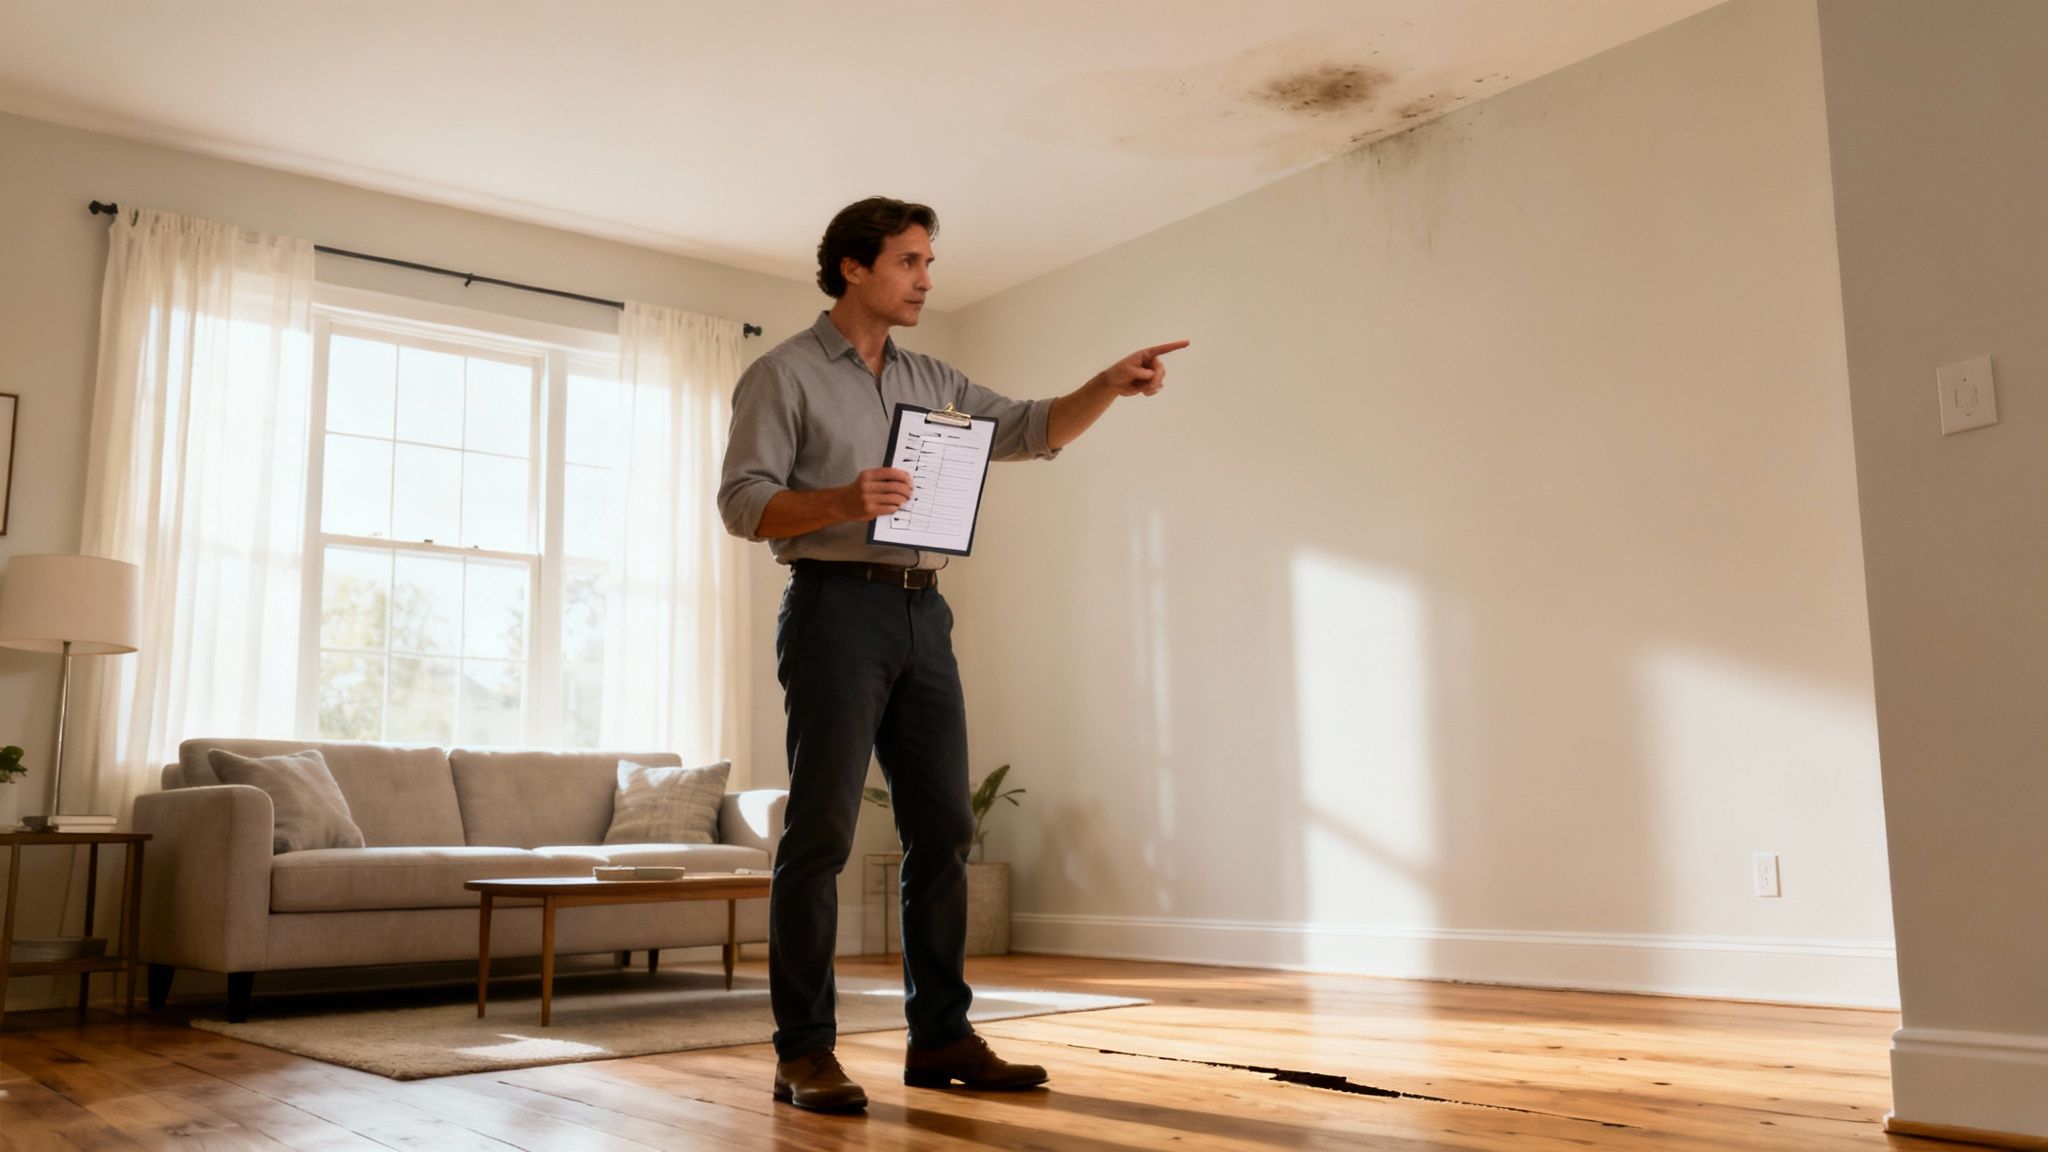
Consider this common scenario: a first-time home buyer finds a beautifully staged home that’s comfortably under their budget. They notice some faint, old water stains on a ceiling but assume it was a past issue that has since been fixed. After closing, a musty smell leads them to discover an active leak and a significant mold problem. The final bill? A five-figure remediation project they never saw coming.
This story highlights a crucial lesson for any buyer—an accurate repair estimate transforms you from an emotional buyer into a savvy one. It is your most powerful tool for negotiating a fair price and understanding what homeownership will truly cost long after you get the keys.
The Core of a Reliable Repair Estimate
A dependable repair estimate isn’t just one big number. It’s built from several key components that protect you from costly surprises. Any budget you can rely on must include these three elements:
- Material Costs: This includes everything from lumber and drywall to paint and light fixtures. Prices can vary widely based on quality, so research is essential.
- Labor Costs: Unless you’re a professional planning to do all the work yourself, labor will be a significant part of your budget. In some areas, labor can account for nearly 60% of total repair costs.
- Contingency Fund: This is absolutely non-negotiable. Always set aside an extra 15-20% of your total estimated cost. This buffer is your safety net for the unexpected issues that often appear once work begins.
Key Takeaway: Your repair estimate is more than a list of fixes—it's a roadmap to the home's future financial health. A detailed, well-researched estimate gives you the confidence to either proceed with the purchase, negotiate better terms, or walk away from a potential money pit.
Turning Knowledge into Negotiating Power
A thorough estimate does more than prepare you for future expenses; it becomes your sharpest tool during negotiations with the seller. When you can present specific, data-backed costs from actual contractor quotes, your request for a price reduction or a seller credit carries much more weight.
Instead of saying, "The roof looks kind of old," you can state, "Replacing the 25-year-old roof will cost an estimated $12,000, and here are the quotes to prove it." This simple shift changes the conversation from a subjective opinion to an objective fact, putting you in a much stronger position to secure a better deal and protect your investment.
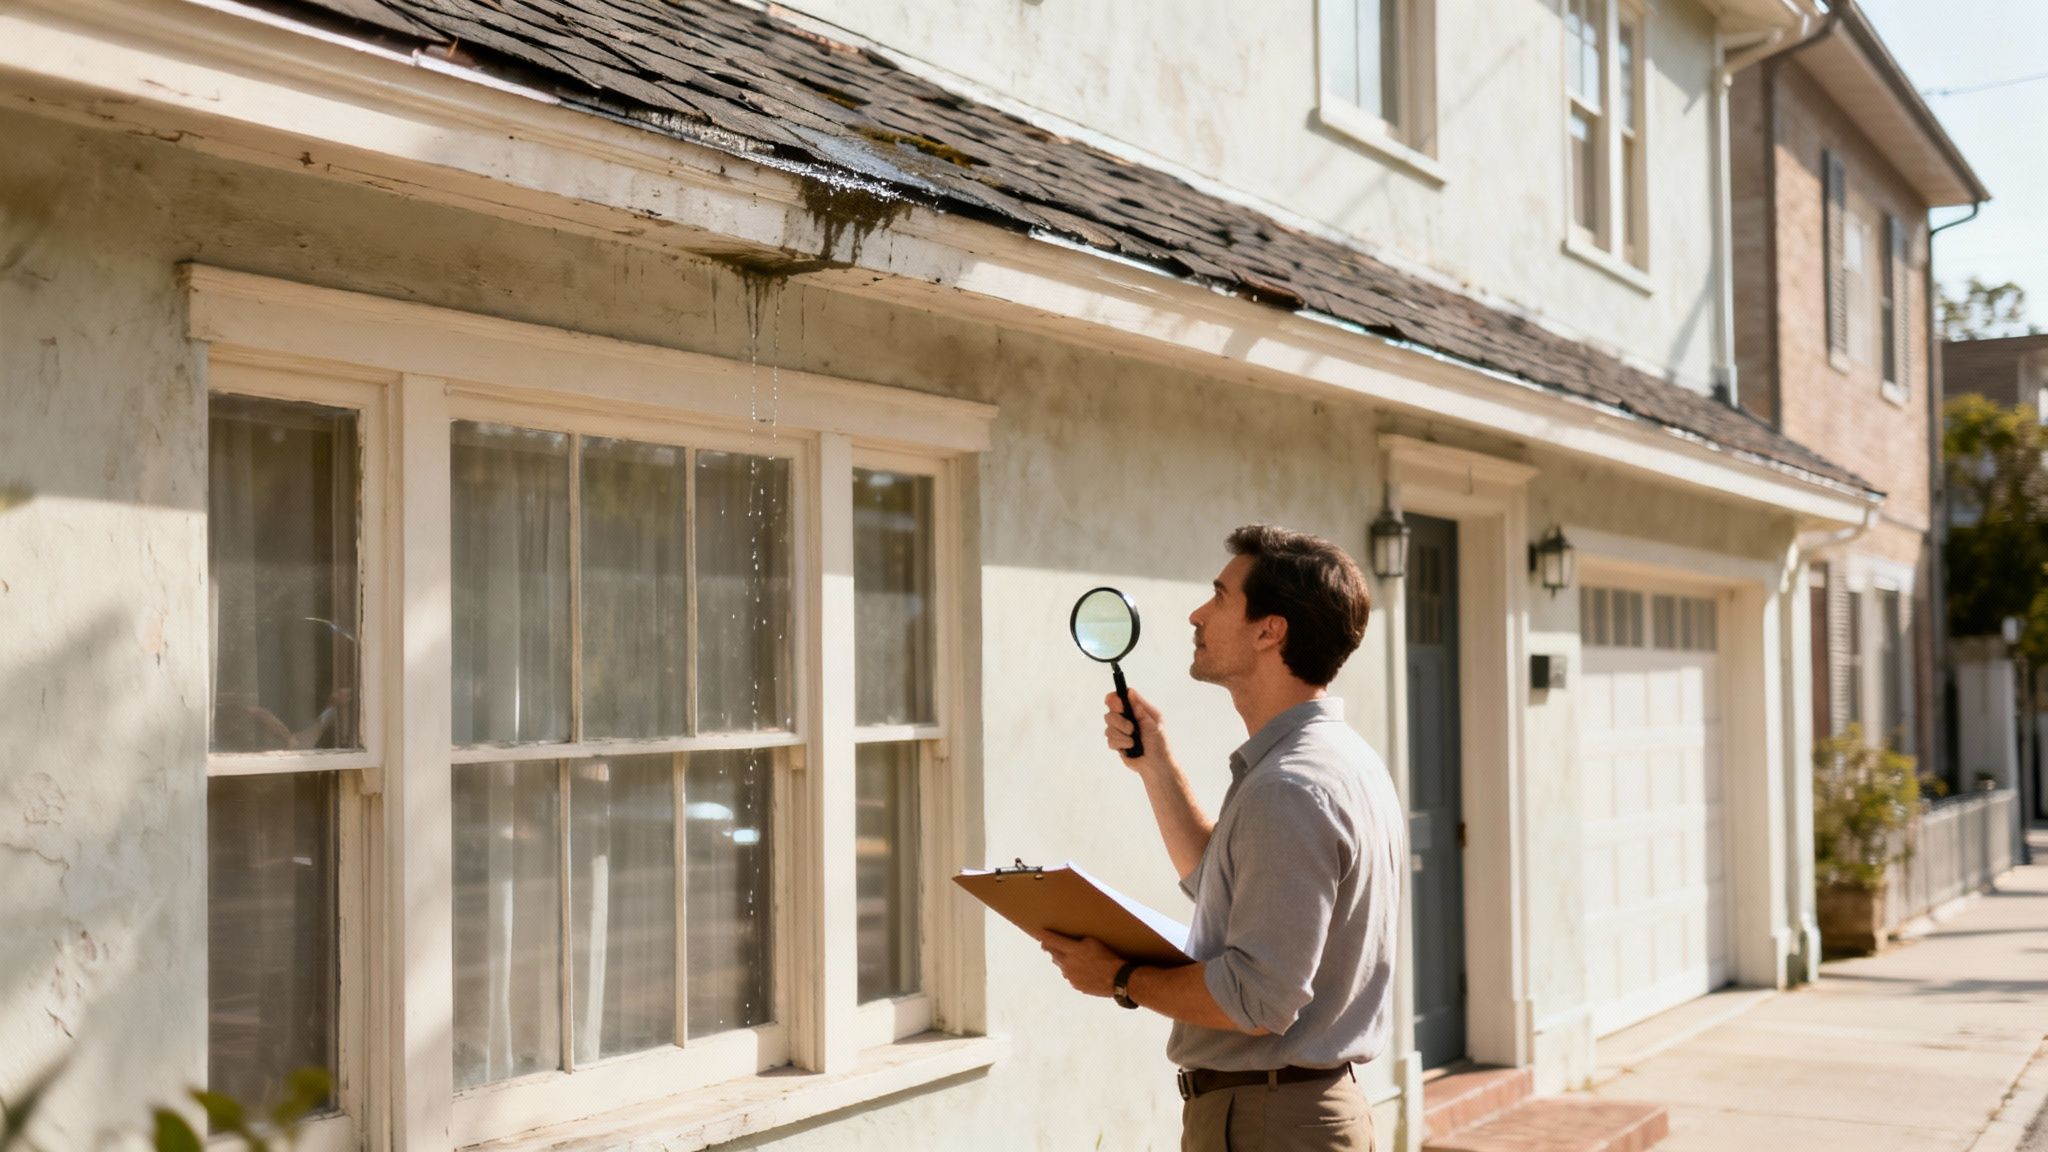
Your First Walkthrough: A Buyer's Checklist
It’s easy to get swept up in the emotion of a home tour. The perfect staging, fresh paint, or a stunning view can distract even the most disciplined buyer. But to truly estimate repairs on a house, you have to train your eye to see beyond the surface appeal.
This first walkthrough is your opportunity to play detective. You're not trying to be a home inspector—that important step comes later. Right now, your goal is to spot clues and early warning signs of potentially expensive problems hiding in plain sight.
What to Look For, Room by Room
As you walk through the property, shift your mindset from "buyer" to "investigator." Start noticing the small details that most people overlook. That musty smell in the basement isn't just an odor; it could signal water intrusion that costs thousands to fix. Those foggy double-pane windows? They indicate that the seals have failed, and replacing them adds up quickly.
Here’s a quick mental checklist to run in every part of the house:
- Floors and Ceilings: Do the floors feel bouncy or sloped? Unevenness can sometimes point to foundation issues. Always look up. Faint water stains on the ceiling are a classic sign of a leak, whether it's active or not.
- Walls and Windows: Scan the drywall for cracks, especially hairline fractures radiating from the corners of doors and windows. Open and close a few windows. Do they operate smoothly? Is there any condensation between the panes?
- Electrical and Plumbing: Take a quick look under the sinks in the kitchen and bathrooms. You're looking for active drips, water stains, or soft, damaged cabinet floors. Find the electrical panel—an old fuse box is an immediate red flag for a necessary and expensive upgrade.
- Basement and Attic: These two areas often reveal the most about a house's condition. In the basement, look for any signs of dampness on the walls or floor. Head to the attic to check for adequate insulation, proper ventilation, and any evidence of roof leaks or pests.
Quick Tip: This initial walkthrough is about observation, not diagnosis. Note down everything that seems off. This list will help you and your home inspector focus on potential problem areas later.
Connecting Observations to Potential Costs
Every red flag you spot has a potential price tag. You won't know the exact figures yet, but you can start sorting issues into categories: minor fixes (like a dripping faucet) and major capital expenses (like an aging HVAC system).
Learning to spot these visual cues is a skill that improves with practice. Many of the most expensive repairs leave subtle hints you can catch early on.
Common Red Flags and Potential Repair Costs
This table is a quick reference to help you connect what you see with what it might cost. These are general estimates, but they show how quickly small observations can point to major repairs.
| Observed Red Flag | Potential Problem | Average Repair Cost Range |
|---|---|---|
| Water Stains on Ceiling | Roof or Plumbing Leak | $500 - $4,000+ |
| Musty Smell in Basement | Water Intrusion / Mold | $2,000 - $15,000+ |
| Foggy Double-Pane Windows | Failed Window Seals | $250 - $700 per window |
| Sloping or Uneven Floors | Foundation Issues | $5,000 - $30,000+ |
| Flickering Lights / Old Panel | Outdated Electrical System | $4,000 - $12,000+ |
| Low Water Pressure | Old Galvanized Pipes | $5,000 - $15,000 (re-pipe) |
Seeing a few of these doesn't automatically mean a house is a bad deal, but it does mean you need to investigate further and budget accordingly.
For a more structured approach, especially if you're looking at multiple properties, a good checklist is invaluable. Our flipping a house checklist is a fantastic resource that goes into even greater detail. It will help you organize your notes and make sure nothing critical gets missed before you bring in the pros.
Lean on a Professional Home Inspection
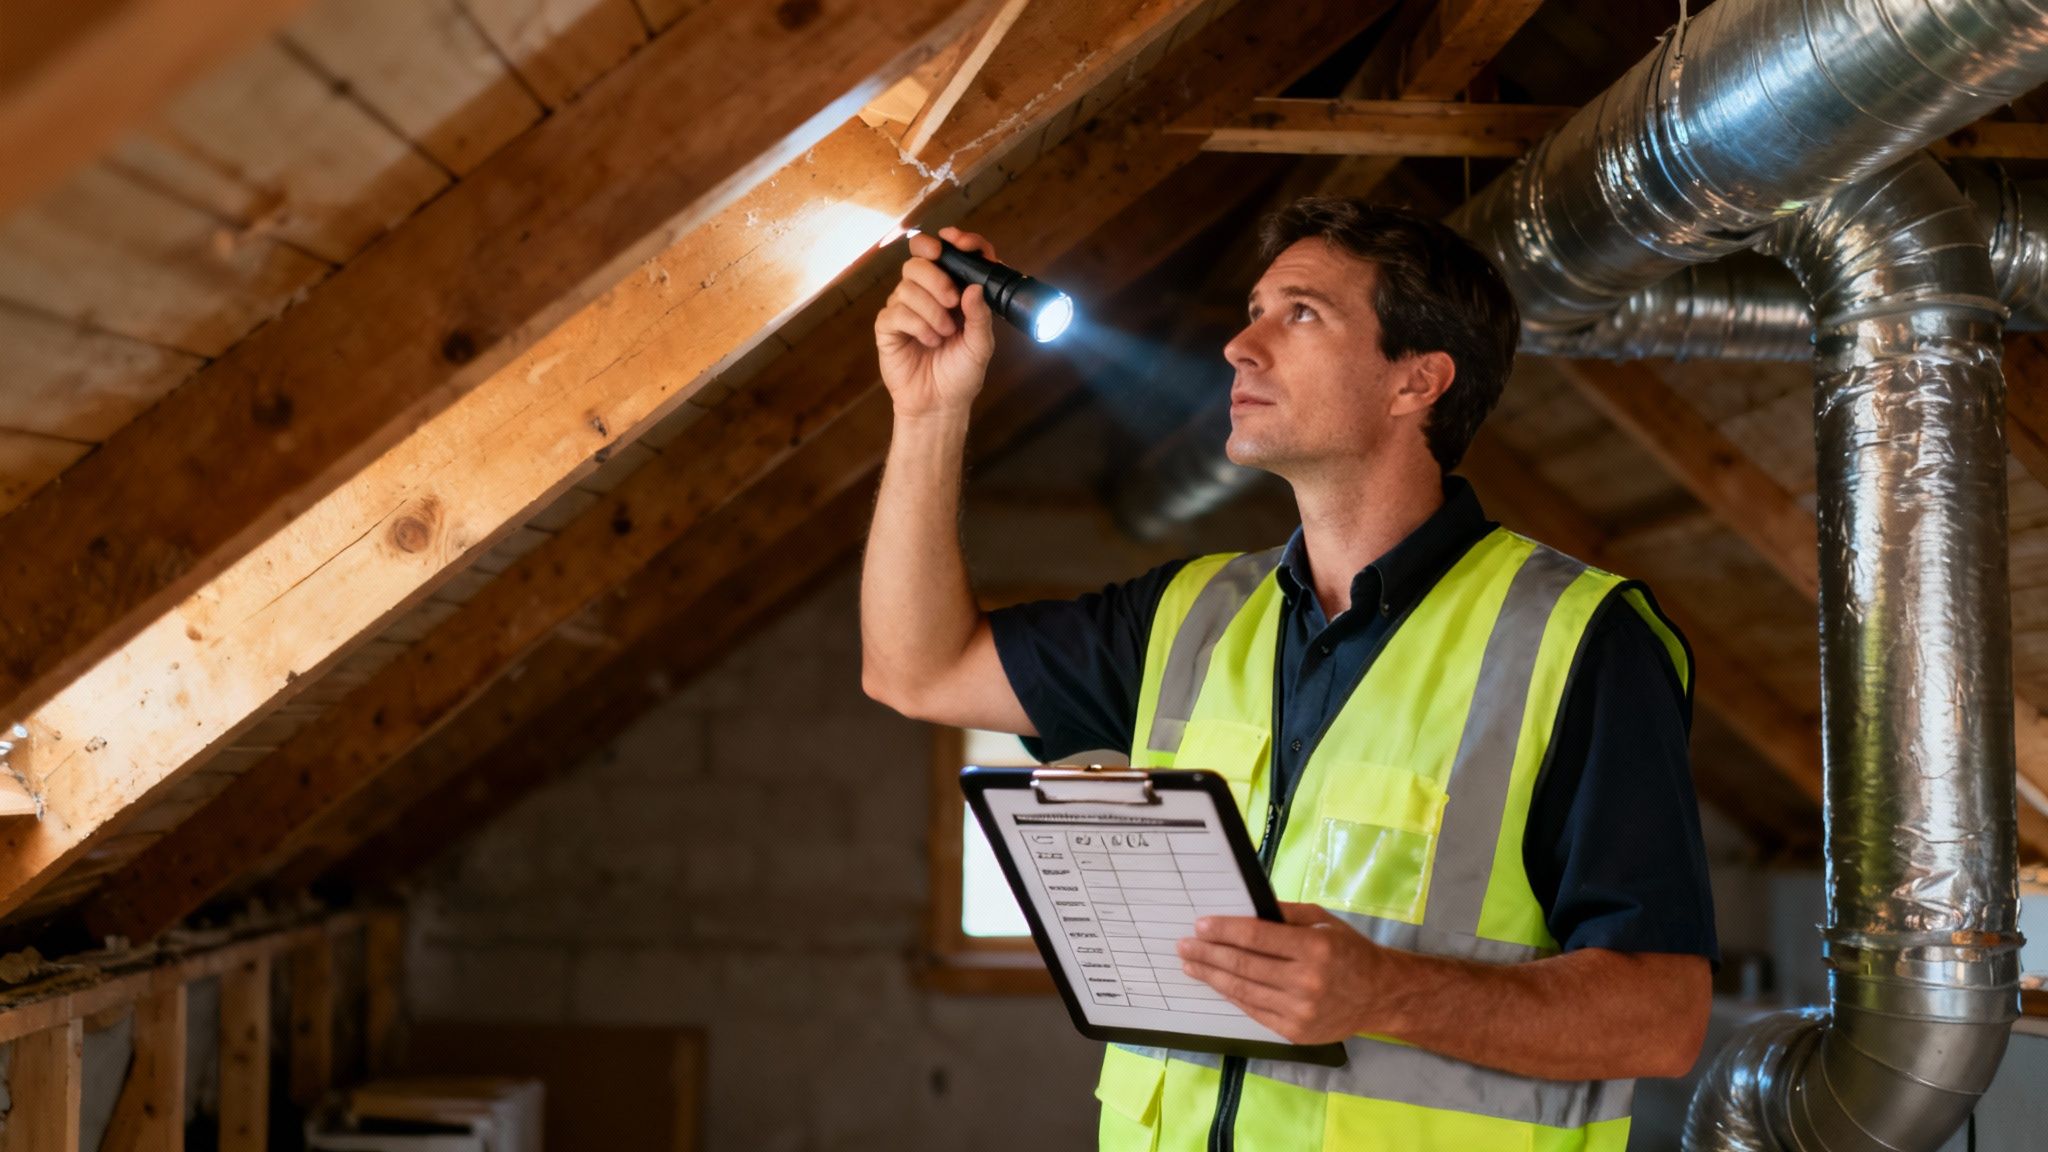
Your initial walkthrough is a great starting point, but it's no substitute for a professional evaluation. A certified home inspector's report is the foundation you’ll use to estimate repairs on a house with real confidence. This document is what turns your initial concerns into a concrete, prioritized action plan.
Finding a reputable inspector is your first move. Ask your real estate agent for recommendations, and look for someone with certifications from a national organization who is willing to share a sample report. Their job is to identify issues you can’t see—from an overloaded electrical panel to subtle cracks that may signal foundation trouble.
Standard Inspections vs. Specialized Assessments
A general home inspection provides an excellent overview of the property's major systems, but sometimes, a specific red flag requires a specialist.
- Pest Inspections: Essential for finding termites, carpenter ants, and other wood-destroying insects that can silently damage a home's structure.
- Radon Testing: Radon is an invisible, odorless gas that poses a serious health risk. This is a common and inexpensive test that is well worth the peace of mind.
- Sewer Scopes: A camera is sent down the main sewer line to look for cracks, clogs, or tree root invasions. Catching this early can save you from a $5,000 to $25,000 repair down the road.
If you spot signs of moisture or discoloration during your walkthrough, you might need more than a standard look. Getting familiar with an ultimate guide to mold inspections will help you understand what a targeted evaluation involves. These specialist reports provide the granular detail needed for truly accurate cost estimates.
How to Decode Your Inspection Report
The final report will be a long, technical document filled with photos and professional jargon. Don't feel overwhelmed. Your job is to translate it into a simple, actionable list.
Key Takeaway: The purpose of an inspection report isn't to list every minor flaw. It's to uncover the major issues that impact the home's safety, structure, and essential systems—giving you the leverage you need for negotiation and budgeting.
Start by sorting every finding into three distinct categories. Think of them as the "Now, Soon, and Later" buckets.
- Immediate Safety Hazards (The "Now"): This is the non-negotiable list. It includes things like exposed wiring, a cracked furnace heat exchanger, or any signs of structural failure. These issues must be addressed.
- Major System Failures (The "Soon"): This is where the bulk of your budget will likely go. This category includes a roof at the end of its life, an aging HVAC system, or widespread plumbing problems. These are the expensive, foundational repairs.
- Future Maintenance & Minor Fixes (The "Later"): This covers everything else—a loose handrail, a foggy window pane, or cosmetic updates. While you’ll want to address them eventually, they aren't a priority for your initial repair estimate.
This simple sorting method is a game-changer. It helps you focus your time, energy, and budget on the problems that truly matter, making your repair estimate realistic and effective for negotiations.
Turning Your Inspection Report into a Real Budget
Okay, you have the professional inspection report. Now it's time to assign real-world dollar amounts to those findings and build a budget you can count on.
For the big-ticket items—like a new roof, an HVAC replacement, or foundation work—the only reliable method is to get quotes from licensed contractors. Don't stop at one. Aim for at least three independent bids for any major repair. This isn't just about finding the lowest price; it's about comparing the proposed scope of work, the quality of materials, and each contractor's approach.
Getting Quotes You Can Actually Compare
To make this process effective, ensure every contractor is bidding on the exact same job. Provide each one with the relevant sections of your inspection report. To get true apples-to-apples comparisons, ask these specific questions:
- Is this a fixed bid or an hourly estimate? A fixed bid is your final price. An hourly estimate can easily go over budget, so it's important to understand what you're agreeing to.
- What specific materials are included? One roofer might quote basic shingles, while another includes premium 30-year architectural shingles. The details matter.
- Does the quote include permits and debris removal? These "hidden" costs can add hundreds or even thousands to your final bill if they aren't included upfront.
- What’s your projected timeline? This helps you plan and also gives you a sense of how in-demand (and reliable) the contractor is.
For smaller, DIY-friendly tasks like replacing a faucet or patching drywall, you can estimate costs by pricing out materials at your local hardware store. But for anything involving electrical, plumbing, or structural components, professional quotes are non-negotiable.
Accounting for the Unpredictable
Here's a hard-earned lesson from countless renovations: they are always full of surprises. The moment you open a wall or pull up old flooring, you might find rotten subfloor, outdated wiring, or other hidden issues.
That’s why your budget is dangerously incomplete without a contingency fund of 15-20%. If your initial repair estimates total $10,000, you need to have $11,500 to $12,000 set aside. No exceptions.
Key Takeaway: Your contingency fund is the most important financial buffer you have. It’s what separates a stressful, budget-busting renovation from a well-managed project that can absorb unexpected hiccups.
When dealing with major repairs, it helps to know the ballpark figures going in. Costs can fluctuate, but typical ranges for projects like a roof replacement ($7,500–$14,000) or a full HVAC replacement ($6,000–$18,000) represent a significant part of any budget.
Here’s a simple worksheet you can use to start organizing these numbers.
Sample Repair Cost Estimate Worksheet
| Repair Item | Material Cost ($) | Labor Cost ($) | Contingency (15%) | Total Cost ($) |
|---|---|---|---|---|
| Replace Roof Shingles | 4,500 | 5,000 | 1,425 | 10,925 |
| New HVAC System | 5,000 | 2,500 | 1,125 | 8,625 |
| Kitchen Cabinet Refacing | 1,200 | 1,800 | 450 | 3,450 |
| Interior Painting (DIY) | 600 | 0 | 90 | 690 |
| Totals | 11,300 | 9,300 | 3,090 | 23,690 |
This simple tracking helps you see where every dollar is going and ensures your contingency is properly calculated across the entire project.
As you compile these figures, using a structured tool can be a huge help. When you’re ready to move from an inspection report to a concrete budget, a tool like the microestimates platform can help you organize everything efficiently. For investors, our own fix and flip calculator provides a framework built specifically for estimating rehab costs and profits.
Using Your Repair Estimate to Negotiate
The detailed repair estimate you've carefully put together is more than just a budget. It's the single most powerful tool you'll bring to the negotiating table.
When you are armed with real numbers from actual contractors, you shift the entire conversation from opinions to facts. This puts you in a position of strength to negotiate a better deal.
Of course, this isn't about nitpicking every minor cosmetic issue. Successful negotiations focus on the big-ticket items—potential deal-breakers like structural problems, safety hazards, or major systems at the end of their lifespan. A seller is far more likely to negotiate on a failing roof than on a cracked tile in the guest bathroom.
Price Reduction vs. Repair Credit
Once you have your list of significant issues, you generally have two negotiation options: ask for a price reduction or request a seller credit at closing. While reducing the sale price sounds good, a credit is often the better choice for buyers.
Here’s why a credit is often preferable:
- You hire your own contractors: You can vet the professionals and ensure the job meets your standards, rather than having the seller find the cheapest option.
- You control the timeline: You schedule the work when it makes sense for you, not in a frantic rush before closing.
- You pick the materials: You won't be stuck with builder-grade materials the seller chose just to save money.
Key Takeaway: Taking a repair credit is typically the smartest move. It prevents closing delays, avoids arguments over the quality of the work, and gives you the freedom to oversee the repairs to your exact specifications, ensuring the job is done right.
The goal of this process is to turn your inspection report into a bulletproof negotiation tool.

When you follow these steps, you build a data-driven case that can turn your findings into real savings.
How to Present Your Request
The way you present your request matters. Work with your real estate agent to draft a formal addendum to your offer. It should clearly list the issues from the inspection report alongside the corresponding contractor quotes. This demonstrates that you're serious and have done your homework.
Keep in mind that repair costs are always changing. The average cost of home repairs recently jumped by 3.97% year-over-year, and labor costs can account for nearly 60% of the total bill.
Ultimately, your goal is to understand the property's true future value. For real estate investors, this means calculating the After Repair Value, or ARV. You can learn more about what ARV stands for in real estate in our detailed guide. Even if you aren't flipping the house, the core concept is the same: know the true cost before you commit.
Frequently Asked Questions (FAQ)
1. How accurate does my repair estimate need to be?
Your estimate should be as accurate as possible for major, expensive items but can be more of a ballpark for smaller fixes. For big-ticket repairs like a new roof or HVAC system, get at least three detailed quotes from licensed contractors. For minor cosmetic work you plan to DIY, pricing materials at a hardware store is usually sufficient. The most crucial part is adding a 15-20% contingency fund to your total estimate to cover unexpected costs.
2. At what point should I walk away from a house due to repairs?
You should consider walking away if the total estimated repair cost, when added to the purchase price, exceeds your maximum budget or the home's potential market value after repairs (its After Repair Value, or ARV). A long repair list isn't an automatic deal-breaker if the price is right and the location is good. Let your data-driven estimate, not emotion, guide your decision. If the numbers don't work on paper, they won’t work in real life.
3. Is it better to get a credit from the seller or have them do the repairs?
In almost all cases, it is better to request a seller credit or a price reduction. When you let a seller manage repairs, their goal is often to spend as little as possible to close the deal, which can result in low-quality work. Taking a credit gives you control to hire contractors you trust, choose the materials you want, and manage the project on your own timeline, ensuring the repairs are done to your standards.
4. What repairs should I focus on when negotiating?
Focus your negotiations on significant issues that affect the home's safety, structure, and major systems. These include problems with the roof, foundation, electrical system, plumbing, and HVAC. Sellers are much more likely to negotiate on these critical, high-cost items than on minor cosmetic flaws like scuffed paint or a cracked tile. Use your inspection report and contractor quotes to back up your request for these essential repairs.
Ready to stop guessing and start analyzing? Flip Smart gives you the tools to evaluate any property in seconds. Get instant valuations, renovation cost estimates, and profit projections to make smarter, faster investment decisions. Analyze your first property for free at Flip Smart.